Guide · 5 min read
How to Create a QR Code for Wedding Photos (Free, in 2 Minutes)
Every guest at your wedding will take photos. Most of those photos will never reach you. A QR code fixes that — one scan, one upload, every angle of your day in one private gallery. Here's how to create one in the time it takes to make a coffee.
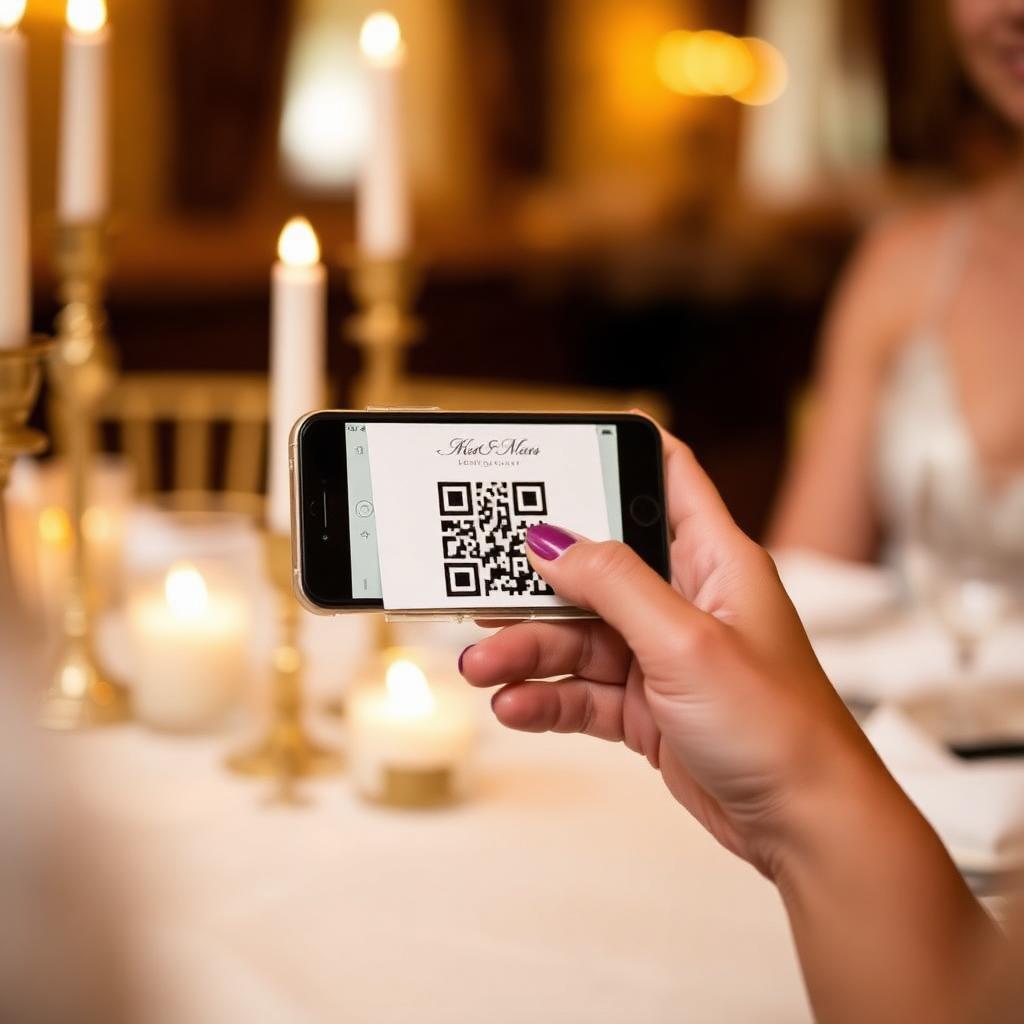
Why a QR code beats every other option
Group chats fragment. Shared albums need accounts. Hashtags miss 60% of the photos people actually take. A QR code is the only method that works for every guest on every phone — point the camera, tap the banner, upload. No app to download, no password to forget, no friction between your guests and the moments you want to keep.
The big shift in 2026 is that every modern phone scans QR codes natively from the camera app. iPhones since iOS 11. Android since Android 9. You don't need a separate scanner app, and your guests don't need to learn anything new.
Step 1 — Create your event (60 seconds)
- Head to confettiframe.com and create your account.
- Add your names, your wedding date, and a cover photo.
- Done. Your QR code is generated automatically and points to a private upload page branded with your names and welcome note.
TipYou don't need to wait until the week of the wedding. Create your event early so you can test the QR code with friends, your photographer and your venue coordinator.
Step 2 — Download or design your QR card
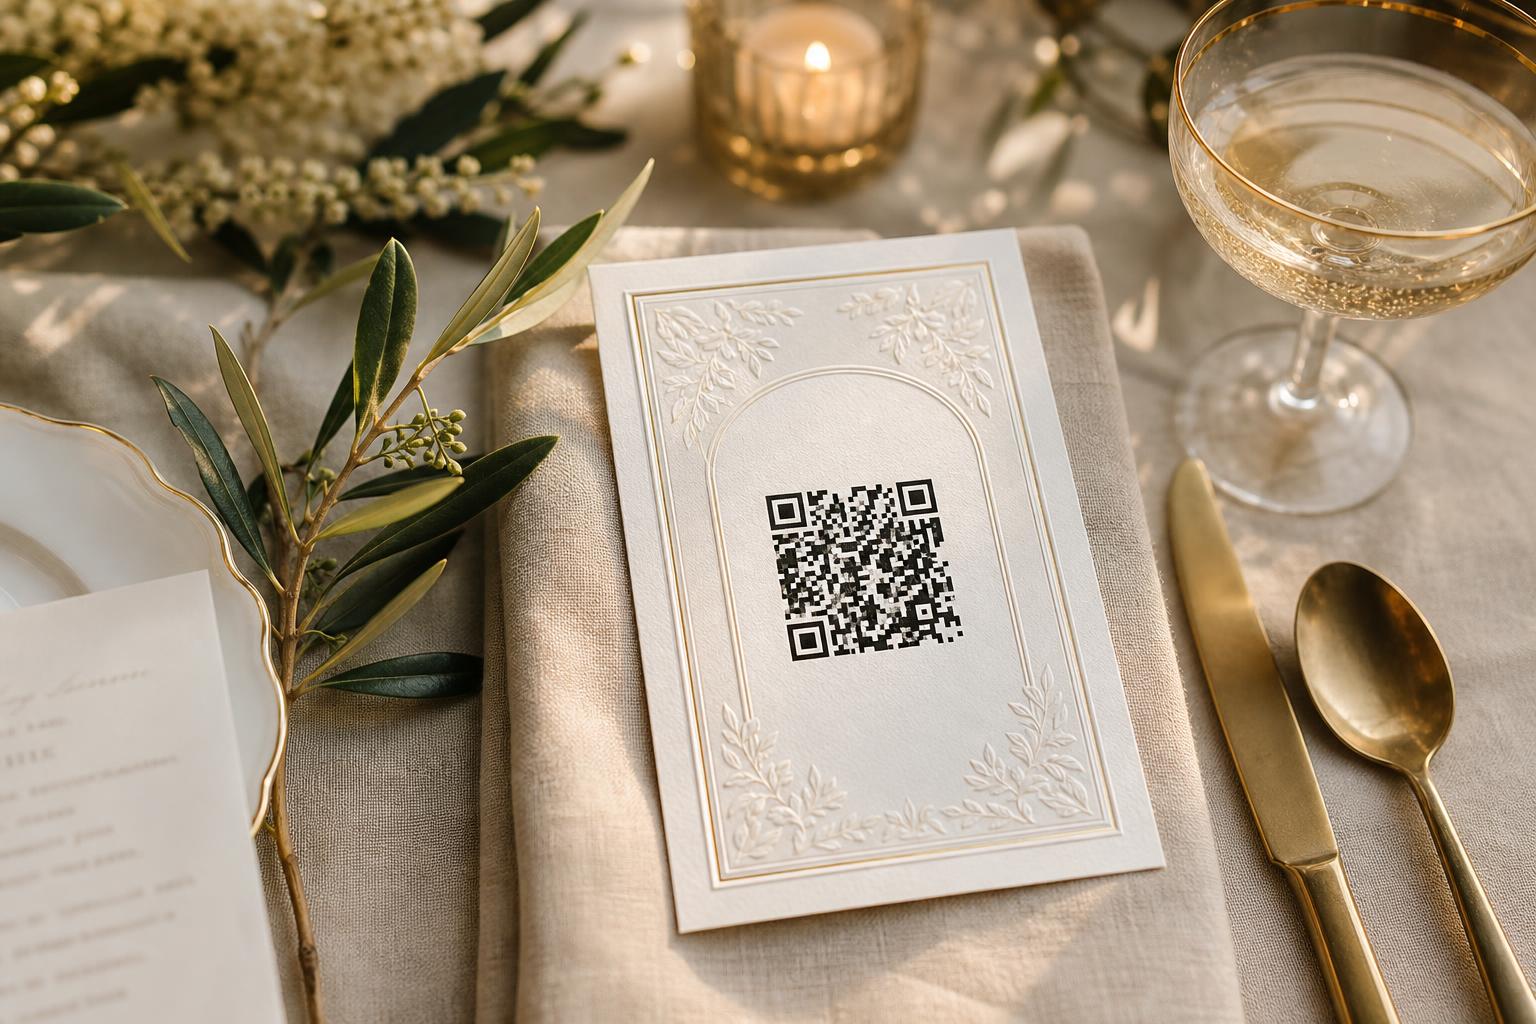
You have two options. Download the raw QR code PNG and drop it into Canva, or use our free QR card template — customise your names, date and message, then export a print-ready PDF in business card, A6 or A5 size.
The card should include three things and nothing more:
- Your names (so guests know they're scanning the right thing)
- A one-line prompt — "Scan to share your photos with us"
- The QR code itself, with a clear quiet zone around it
Step 3 — Test it before you print 200 of them
This is the step couples skip and regret. Before you commit to a print run, scan the QR code with:
- A newish iPhone
- An older Android (your most tech-shy relative's phone is perfect)
- Your phone in low light — venues are dim, especially after sunset
If all three open the upload page in under three seconds, you're good. If one phone struggles, increase the QR size or boost the contrast (dark code, light background — never the other way around).
Step 4 — Place QR cards where guests' phones already are
One QR card on one table isn't enough. The venues that collect the most photos put a card in every place where a phone might come out:
- Every reception table — small business-card-sized prop between centrepiece and menu
- The bar — A5 sign next to the drinks list
- The welcome table — large framed card so guests see it as they arrive
- Back of the order of service — captures the ceremony moments most couples miss
- The photo booth backdrop — for the staged-for-sharing moments
Step 5 — Tell people what you want
A printed card collects roughly 40% of the room. Voice prompts collect the other 60%. Brief your MC to mention it once during the welcome and once between speeches. A single sentence — "There's a QR code on every table — please share anything you snap with the happy couple" — changes everything.
What happens after the day
Uploads arrive in your private feed organised by chapter — Getting Ready, Ceremony, Reception, First Dance, After Party. You approve which photos guests can see in the shared gallery; the full high-resolution archive (including HEIC and 4K video) is yours to download whenever you're ready. Most couples wait until the honeymoon to scroll through the whole thing together with a glass of something.
Create your QR code now
Your event, your QR code and your private gallery — ready in two minutes. Test it today, pay only when you're ready to go live.
Start your event