Guide · 12 min read
QR Codes for Wedding Photos: How They Work and How to Use One
Most of the photographs taken at a wedding are taken by guests, and most of them stay on the phones that took them. A QR code is the simplest way to give those photos somewhere to go. This guide explains what a wedding photo QR code actually is, how to create and test one, how big to print it, where to put it, what the sign should say, and how to choose where the uploads land.
What is a wedding photo QR code?
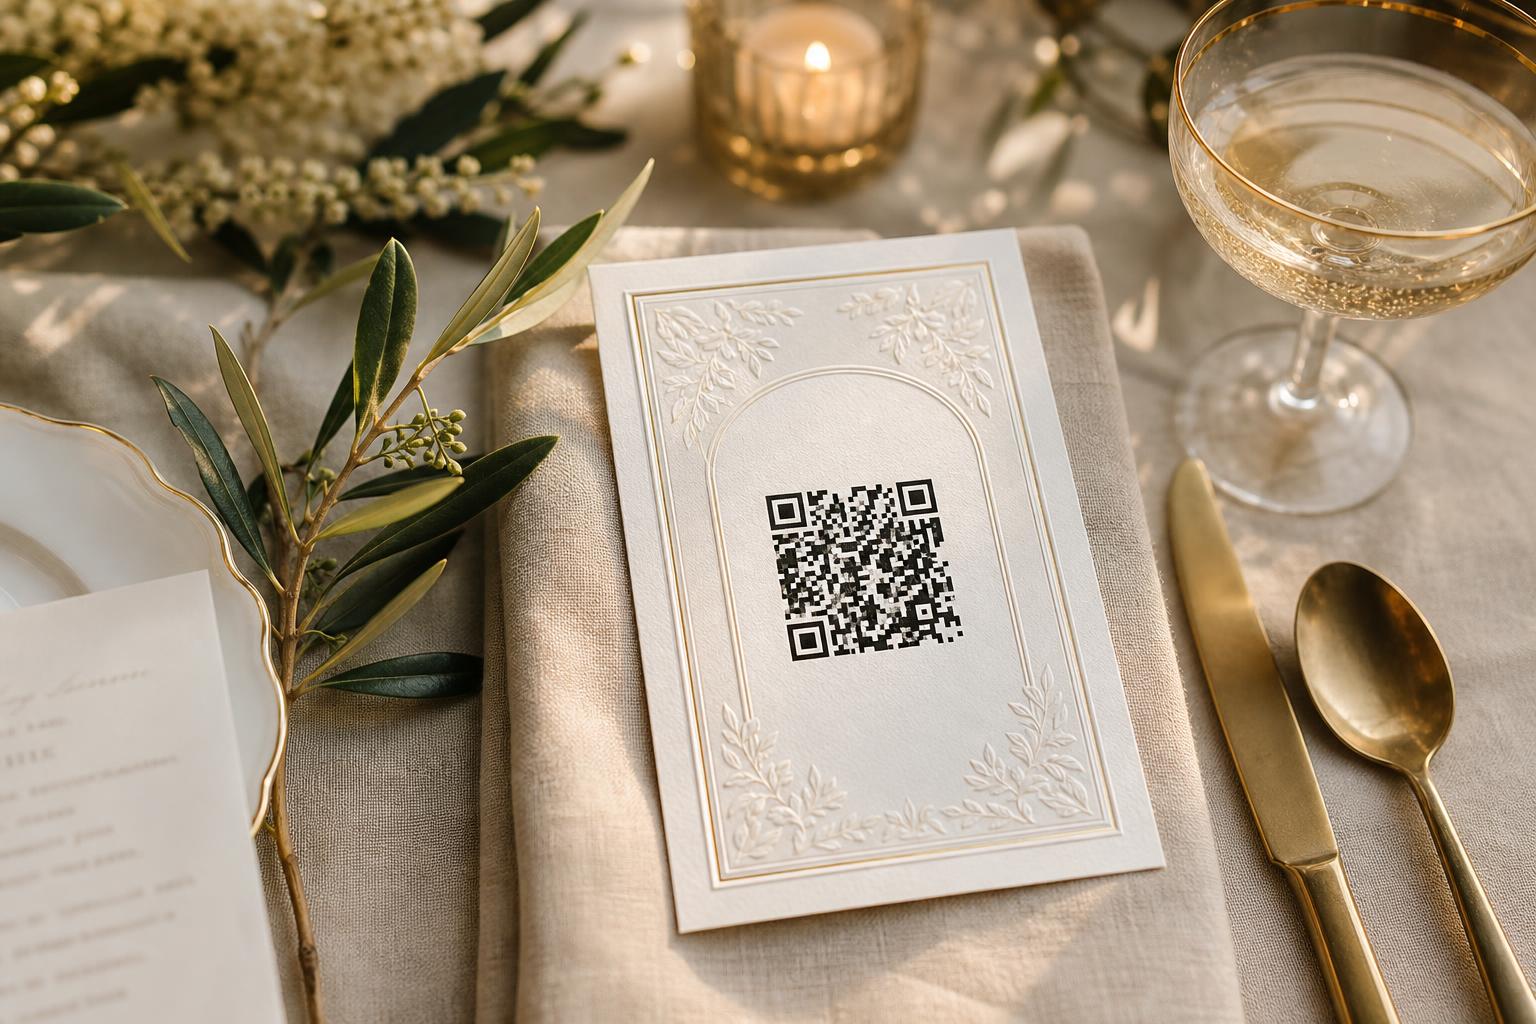
A wedding photo QR code is a printed square barcode that encodes a single web address: the page where guests can upload the photos and videos they take on the day. Guests open their phone camera, point it at the code, tap the link that appears, and they are on your upload page. Nothing is stored in the code itself — it is only a shortcut to a URL, which is why the destination matters far more than the code.
Couples typically use one for guest photo collection, though the same idea is used for RSVPs, menus, venue directions and orders of service. This guide is specifically about the photo-collection use.
How wedding photo QR codes work
- Scan. The camera recognises the pattern and surfaces a link banner.
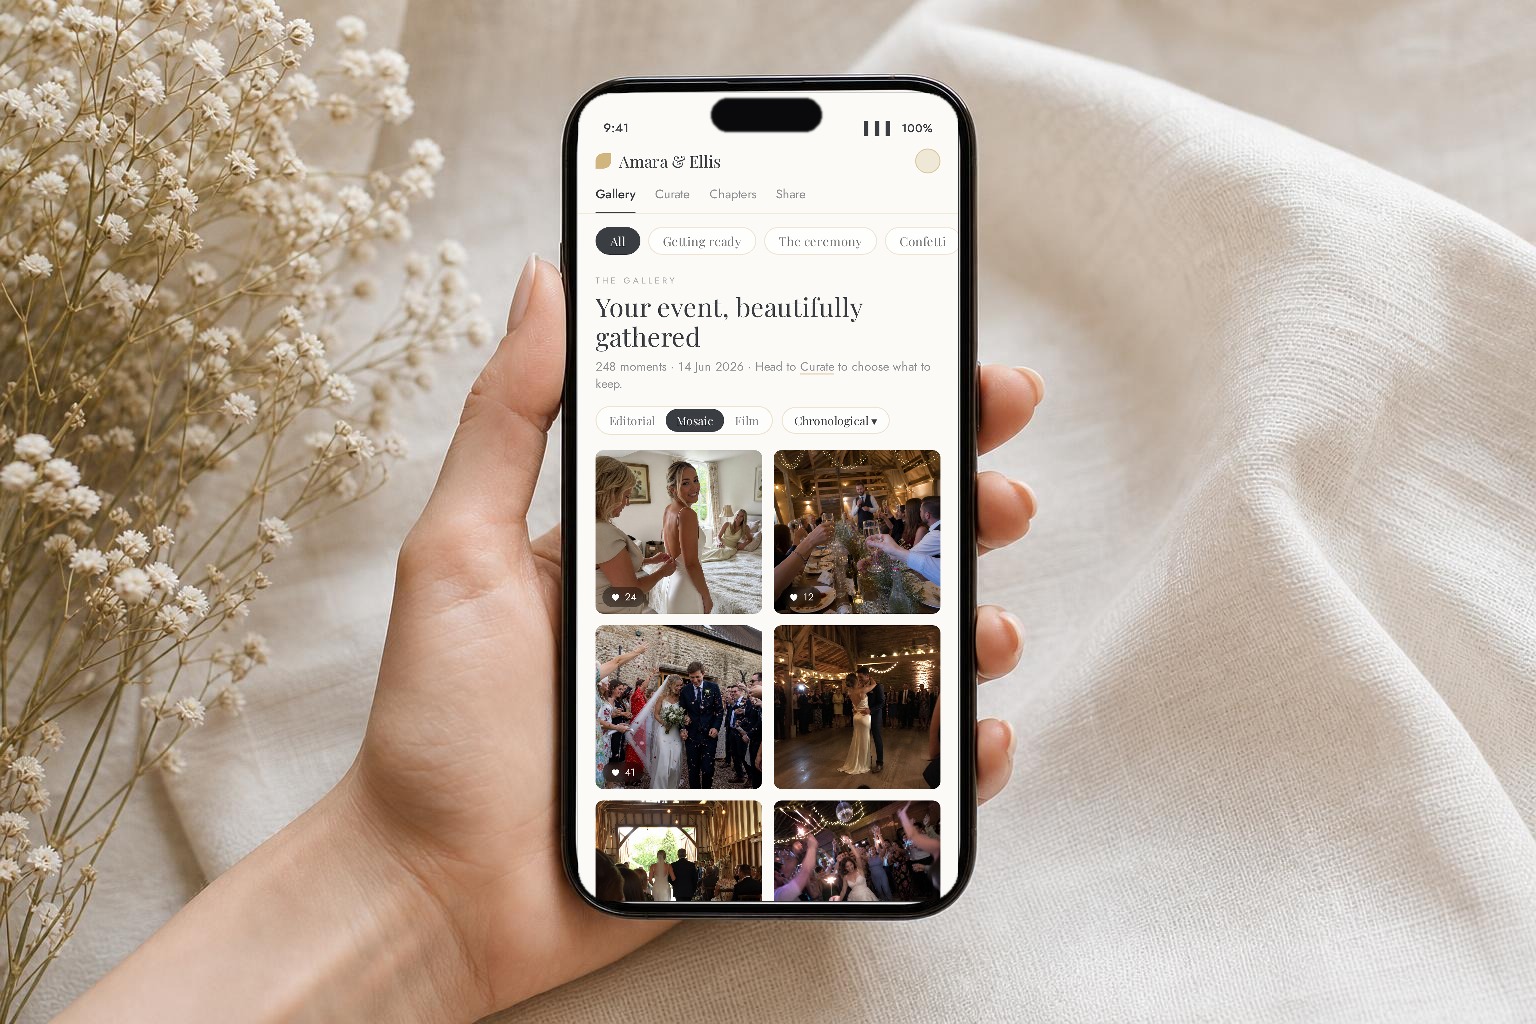
- Open. The link opens in the phone's browser — usually a page branded with your names.
- Upload. The guest picks photos and videos from their camera roll, or takes one there and then.
- Land. Files transfer to whatever storage sits behind the page: a shared album, a cloud folder, or a dedicated wedding gallery.
Two practical consequences follow. First, the code is only as good as the page behind it — a slow or confusing upload page loses guests at the last step. Second, if the destination URL changes after printing, every card you printed becomes useless, so lock the address before anything goes to print.
Do guests need an app?
There are broadly three approaches, and they are not equivalent:
- App-based services. The QR code opens an app store listing. Guests download, create an account, then upload. It gives the smoothest camera experience but adds several steps at the exact moment attention is lowest.
- Generic cloud links. The code points to a shared Google Photos or iCloud album. No new app, but guests may need the right account, and permissions can be fiddly for anyone outside that ecosystem.
- Browser upload pages. The code opens a web page that accepts uploads directly. No download, no account, works the same on iPhone and Android.
Confetti Frame uses the third model. Scanning opens a page branded with your names, and guests upload straight from the browser — no app, no login. Attribution (adding their name to their uploads) is optional, which keeps the friction low.
How to create a wedding photo QR code
Whatever service you use, the process is the same four moves:
- Decide the destination first. Pick where the photos should land (see choosing the destination) and get the final, permanent URL. Avoid link shorteners you do not control and avoid free generators that expire or redirect through ads.
- Generate the code. Most photo-collection platforms generate one for you automatically when you create the event. If you are using a generic album, use a static QR generator that encodes the URL directly rather than a tracking redirect.
- Export it properly. Get an SVG or a high-resolution PNG (at least 1000 px square). A code pulled off a screenshot will print soft and scan badly.
- Place it on the card or sign with a clear margin around it and one line of instruction. Keep the destination URL printed underneath in small type as a fallback for anyone whose camera will not cooperate.
TipSet the code up early — weeks before, not the night before. That gives you time to test on other people's phones and to reprint if something is wrong.
How to test it before the wedding
This is the step couples skip and regret. Test the printed card, not just the file on screen — paper, ink and lighting all change the result.
- iPhone and Android. Scan with at least one of each, and ideally one older handset.
- Distance. Scan a table card at seated arm's length and a sign from where people will actually stand.
- Lighting. Try it in dim, warm light — receptions are rarely bright — and with candles casting reflections on gloss stock.
- Print readability. Check the printed code for ink bleed or moiré on textured stock; matte finishes scan more reliably than high gloss.
- Venue signal. Ask the venue about mobile coverage and guest Wi-Fi. Barns and cellars often have neither. If signal is weak, print the Wi-Fi name and password beside the QR sign.
- The upload, not just the scan. Complete a real upload end to end so you know the page works on a phone, not only that the link opens.
What size should a wedding QR code be?
QR readability depends on the size of each module (the small squares) relative to viewing distance. A widely used working rule is that the code should be about one tenth of the scanning distance. That gives you:
- Table card, scanned at roughly 30 cm: about 25–30 mm square is comfortable.
- A5 bar or welcome sign, scanned at around 60–80 cm: 60–80 mm square.
- Framed entrance sign or easel, scanned from 1.5–2 m: 150–200 mm square.
- Projected slide: size it against the room, not the slide — a code that looks large on a laptop can be unreadable from the back tables.
Keep a quiet zone of clear space around the code equal to about four modules — in practice, a few millimetres of untouched white on a card. Shorter URLs produce simpler codes with larger modules, which scan more easily at any size.
Where should you place it?
One sign is easy to walk past. Several placements give guests repeated, low-effort opportunities to take part across the day:
- Entrance or welcome sign — sets the expectation as guests arrive.
- Dining tables — a small card propped between the centrepiece and the menus.
- The bar — phones are already out while people wait.
- Photo booth or backdrop — the moments staged for sharing anyway.
- Evening screen — a single slide between speeches or during the evening reception.
- Wedding programme or order of service — reaches guests during the ceremony period.
- Late-night snack station — a last prompt when the dance floor photos exist.
A spoken prompt helps as much as the print. One light line from whoever is on the microphone — during the welcome, and again before the dancing — reaches the guests who never read table stationery.
What should the sign say?
Three elements, nothing more: who it is for, what to do, and the code. Copy you can lift directly:
- “Scan to share your photos with us — Emily & Tom, 14 June.”
- “Saw a moment we missed? Scan and send it our way.”
- “Our photographer can't be everywhere. Scan to add your photos and videos.”
- “No app needed — point your camera, tap the link, upload.” (useful on the first sign guests meet)
Add the plain URL underneath in small type, and if the venue's signal is poor, the Wi-Fi details beside it. Framing it as sharing rather than a task reads better: “share what you snap” lands more warmly than “upload your photos here”.
QR code on the invitation vs at the venue
They do different jobs. A code at the venue is for capture in the moment. A code on the invitation is for planning ahead — it can carry RSVPs, directions and the gallery link, and it primes guests to expect the upload page before they arrive. Stationery has its own constraints around placement, ink colour and print size, which we cover in the guide to adding a QR code to a wedding invitation. If you use both, point them at the same permanent URL.
QR card templates
If you would rather not design from scratch, our free wedding QR card template lets you set your names, date and message and export a print-ready file in business card, A6 or A5 sizes. Match the typeface and paper stock to your invitation suite so the card reads as stationery rather than signage.
Free QR card template
Customise names, date and message — export print-ready.
Common mistakes to avoid
- Printing it too small for the distance it will be scanned from.
- Low contrast. Dark code on a light background scans best; pale metallics and inverted codes are unreliable.
- Decoration over the code. Foliage, foils and photographs behind the modules cost you scans.
- Changing the destination after printing. Lock the URL before the print run.
- Only one sign. Guests who miss it at the entrance never see it again.
- No instruction text. A bare code gives guests no reason to scan it.
- Not checking venue access. No signal, no Wi-Fi, no uploads.
- Requiring an app. Every extra step loses people at the moment they were willing.
Privacy: what to check before you choose
Guests are handing over photographs of themselves and their families, so it is worth reading the fine print. Questions worth asking of any service:
- Is the upload page public, or reachable only by the link?
- Can other guests see everything that is uploaded, or do you approve what appears?
- Who owns the images, and does the provider claim any licence to use them?
- Where is the data stored, and does the provider handle UK/EU data protection properly?
- How long is the content kept, and can you download full-resolution originals before then?
- Are guests required to give personal details to upload?
State the answer on your sign in one short line — something like “private to us” — because guests who are unsure about where a photo will end up simply do not upload it.
Choosing the upload destination
Four realistic options, with the honest trade-offs:
- Google Photos shared album. Free and familiar, and fine for a small wedding. Guests generally need a Google account to contribute, uploads arrive in one long chronological scroll, and album quality settings can compress originals.
- iCloud Shared Album. Effortless for iPhone guests, awkward for everyone else, and shared albums store reduced-resolution copies rather than originals.
- A generic file-upload form or cloud folder. Universal and neutral, but you get an undifferentiated pile of files with no organisation, no moderation and no gallery for guests to enjoy.
- A dedicated wedding gallery. Built for the job: browser uploads with no account, organisation by moment, moderation, and full-resolution downloads. Usually paid, and worth comparing on storage duration and video support.
Whichever you pick, check three things before printing: guests can upload without an account, video is supported at the size phones actually produce, and you can download the originals afterwards.
Where Confetti Frame fits
Confetti Frame is one option in that last category. Creating an event generates your QR code and a browser upload page branded with your names — guests scan, upload photos and 4K video, and never download anything or sign in. Uploads arrive organised by chapter of the day, you approve what other guests can see, and you can download full-resolution originals throughout your storage window. Pricing is a single payment per wedding; the pricing page sets out both plans and how long each keeps your archive.
Related reading: how to collect photos from wedding guests and setting up a shared wedding photo album.
Create your wedding QR code
Set up your event, get your QR code and branded upload page, and test the scan before you print a thing.
Create your wedding QR code