Guide · 6 min read
How to Add a QR Code to a Wedding Invitation (Without Ruining the Design)
A QR code on a wedding invitation does not have to look like a parking-meter receipt. With the right placement, size and colour, it disappears into the design — and gives every guest a tap-and-scan way to RSVP, find the venue, or upload photos. Here is how to do it without compromising the stationery.
Where to place it (in priority order)
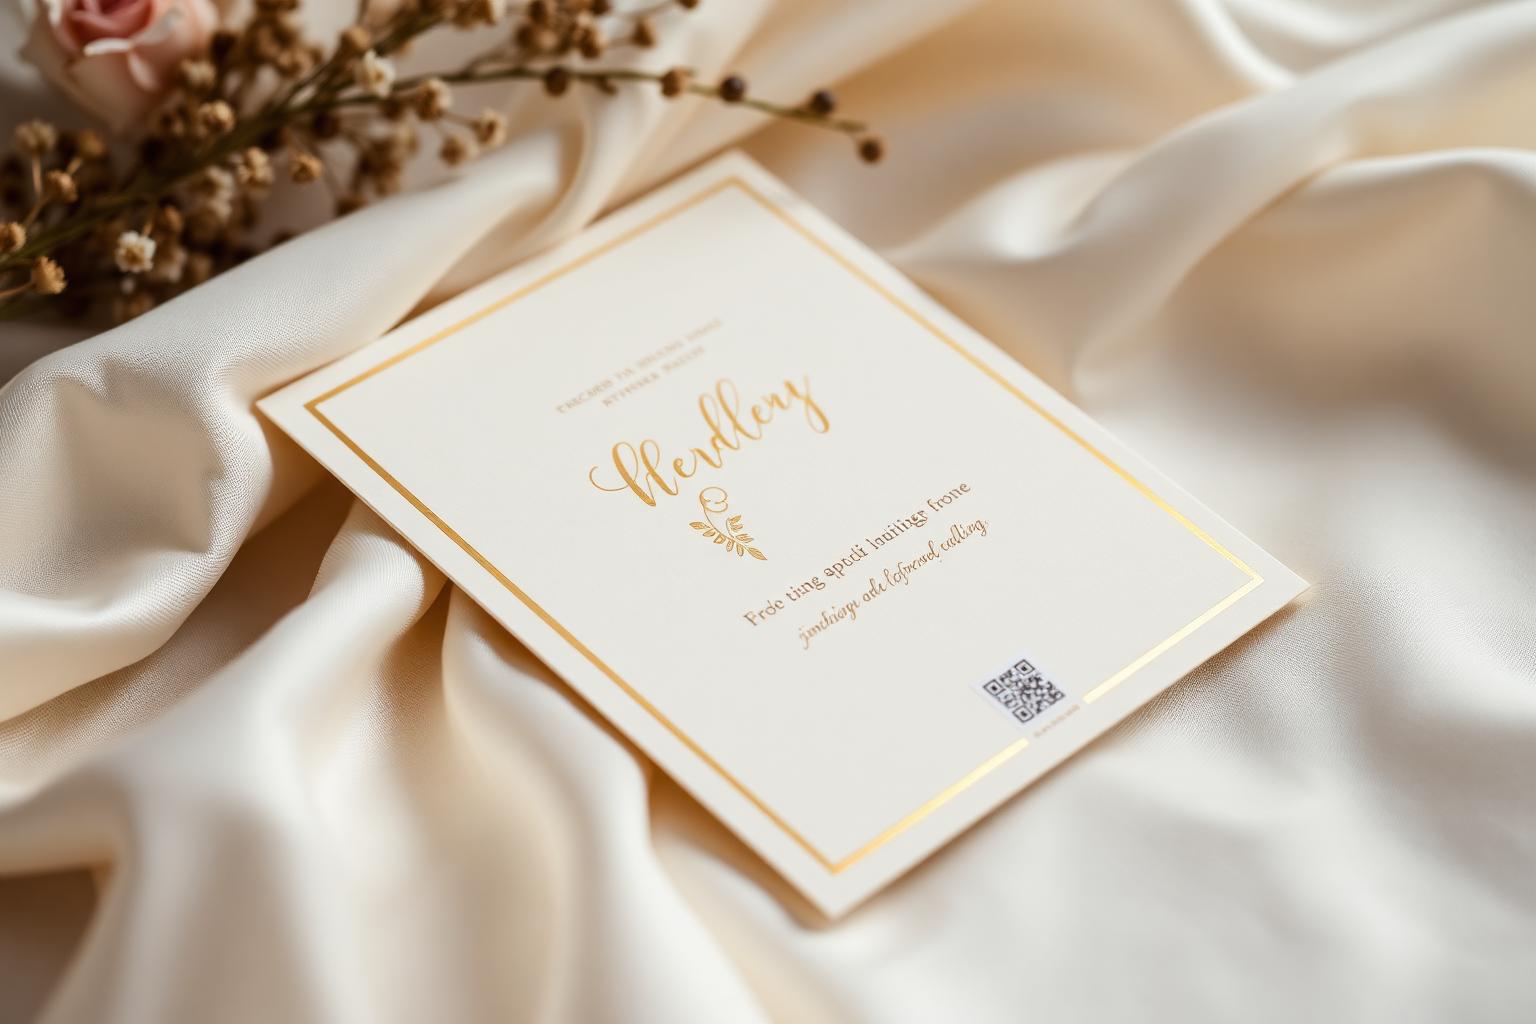
- The details card. The separate insert with venue, timings and dress code. The QR sits naturally next to other "info" content. First choice for most invitations.
- The back of the main invitation. If you want a single-piece invite, the reverse keeps the front clean.
- The RSVP card. If the QR is for digital RSVP only, this is the obvious home.
- Avoid the front of the main invitation. Even a beautiful QR design competes with the typography. Stationers will quietly thank you.
Size — small enough to be elegant, big enough to scan
The reliable minimum is 2 cm x 2 cm (0.8 inch) at print resolution. At that size, every modern phone camera scans from a comfortable arm's length. Smaller than that and you start losing scans from older Android cameras and anyone with mild vision impairment. Bigger than 3 cm and it starts to dominate the layout.
Pair the QR with a short, human-readable URL underneath — something like confettiframe.com/e/yourname — so anyone whose phone won't scan can still type the link in.
Colour and contrast — the part most people get wrong
QR codes need contrast to scan reliably. The safest combinations:
- Dark charcoal on ivory. Works on every cream-paper invitation.
- Deep navy on white. Reads as classic, not corporate.
- Black on a soft blush. The contrast still passes the camera test.
What to avoid: gold foil QRs (look stunning, scan unreliably under most lighting), pastel-on-pastel (low contrast = failed scans), and white QR on dark background (works, but some older phones default to expecting dark-on-light and miss it).
Printing — the four-second check that saves a reprint
Before signing off the print proof: open the digital proof on your screen, hold your phone six inches away, and scan. If it works on screen, it'll work in print at the same size. If it doesn't, increase the size by 25% or raise the contrast — do not send it to print and hope.
What the QR should actually link to
Resist the urge to make the QR link to a Linktree or a generic landing page. Pick one outcome per QR:
- RSVP — your wedding website's RSVP page directly.
- Wedding details — schedule, accommodation, parking, dress code.
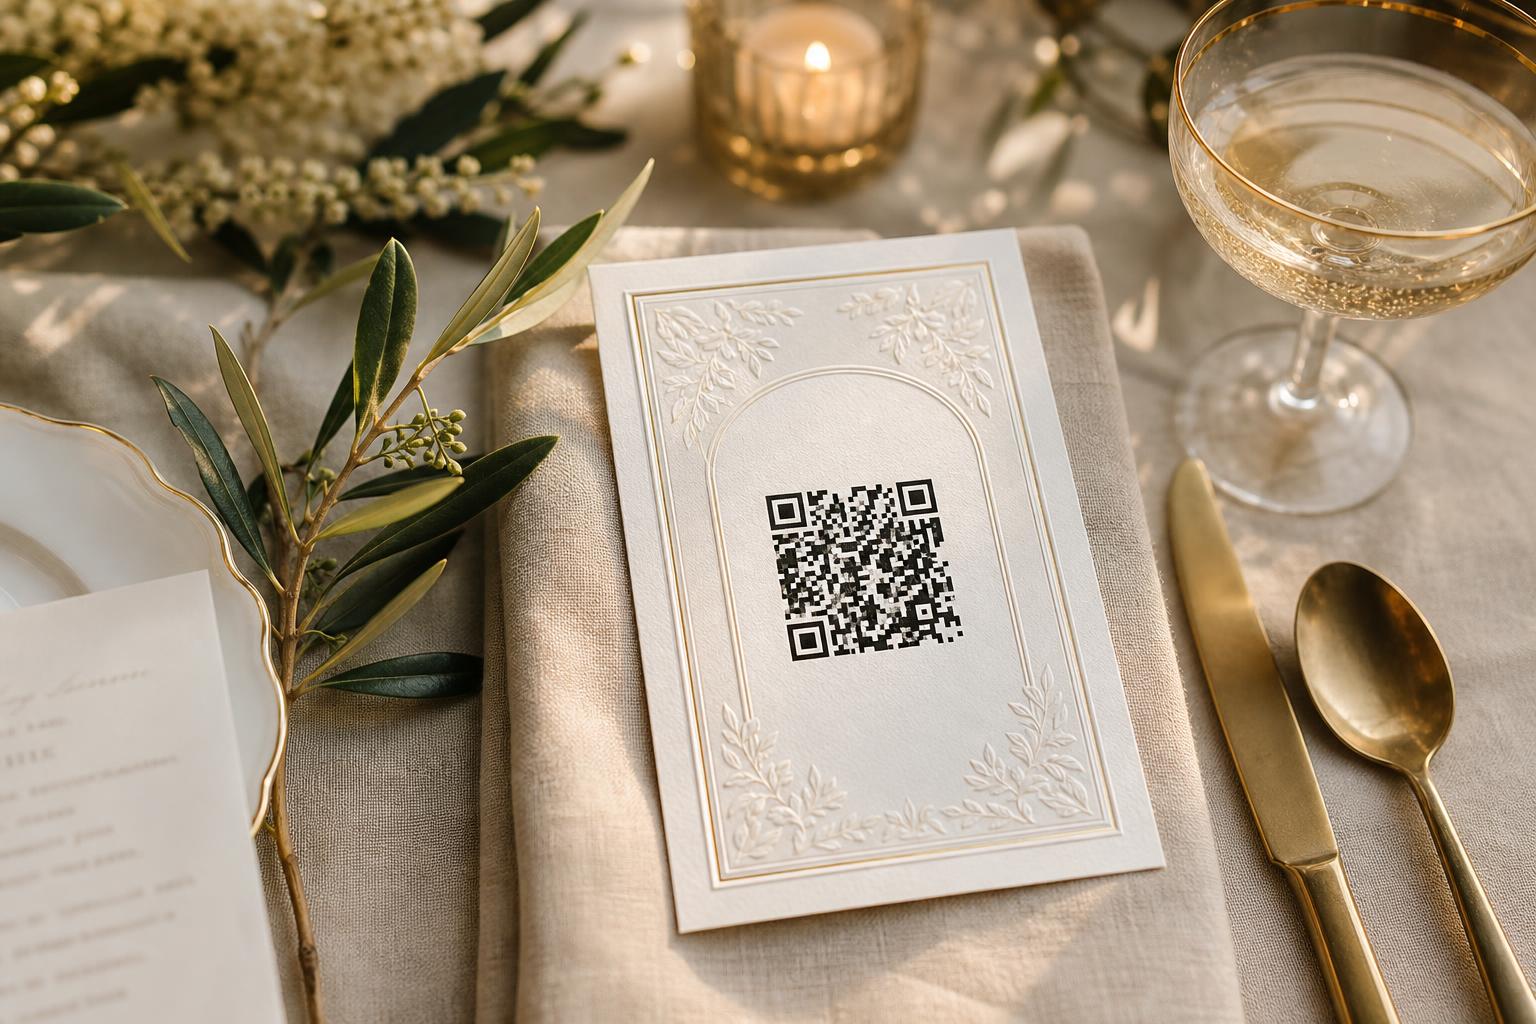
- Photo upload — your Confetti Frame event link, for the day itself. Most couples reserve this QR for the table cards rather than the invitation, but on a minimalist invitation suite it can pull double duty.
If you have all three needs, print three QRs across three pieces of the suite — never one QR that tries to do all three.
Free, scannable QR for your Confetti Frame event
When you create your event we generate a high-resolution, print-ready PNG of your QR (and a vector SVG for stationers), in a choice of dark colours, sized to drop into any design at 2–3 cm. See our QR card template guide for the file formats.